Tutorial: Non-human subject :)
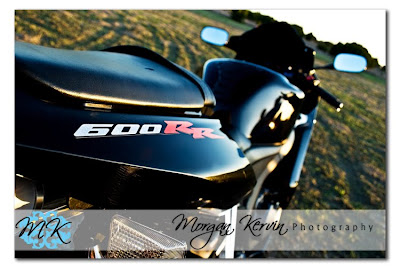
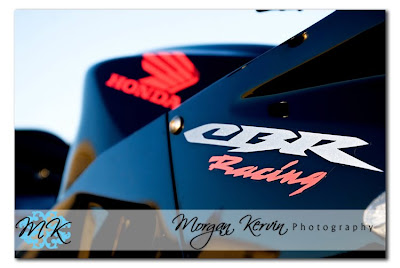
I have been itching to take pictures of hubby's new bike, so yesterday he finally cleaned it up really nice and moved it out back just before sunset so I could get some shots. I am loving them! He told me he wanted just one "normal" shot (because I like getting different, more abstract shots of inanimate objects).

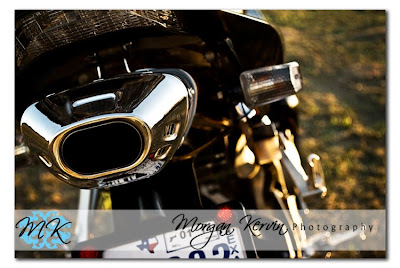
I was asked to make tutorial on how to edit this particular shot.
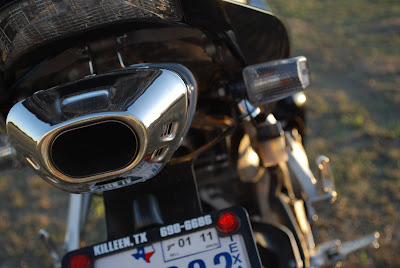
SOOC shot
I utilized the RAW menu as follows.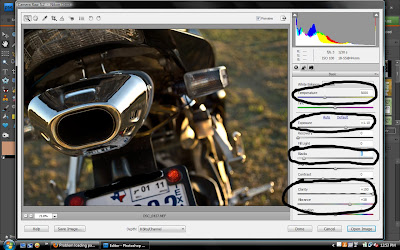
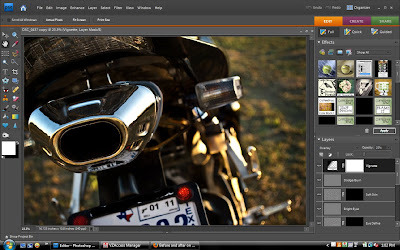
Next I run CoffeeShop Perfect Portrait...because it's awesome! I bring the vignette down to about 25% opacity.
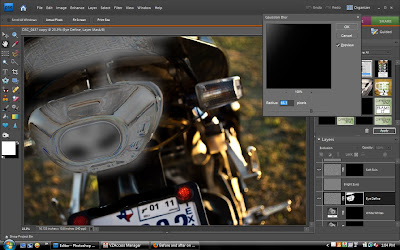
*For images that show the paint I paint over it with my brush on the soft skin layer to make it have the waxed look, gaussian blur and adjust opacity as well*
Then I use the eye define layer (Changed the blending mode to see where I brushed) and gaussian blurred to make it blend well.
Flatten and make 2 duplicate layers. Set the blending mode to multiply on the top layer and bring the opacity down to about 50%.
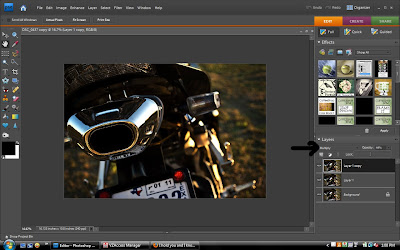
Set the middle layer to screen and keep at 100% opacity.
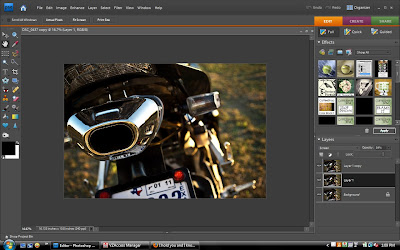 Flatten.
Duplicate layer.
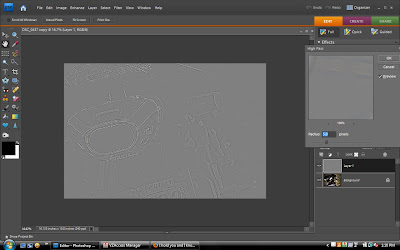
Set the blending mode to soft light for the top layer and run a high pass filter set at about 5.
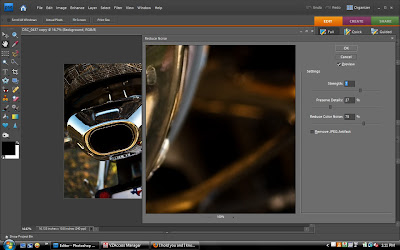
Run a reduce noise filter on the bottom layer.
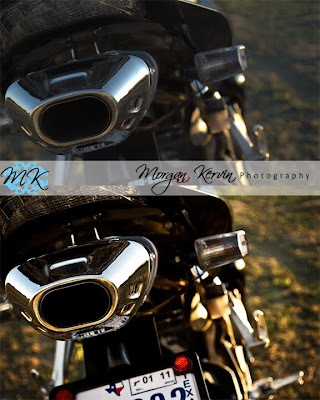
Before and after shots


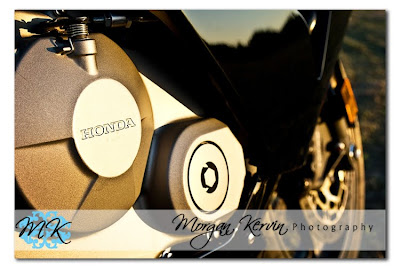
I was asked to make tutorial on how to edit this particular shot.
SOOC shot

I utilized the RAW menu as follows.

Next I run CoffeeShop Perfect Portrait...because it's awesome! I bring the vignette down to about 25% opacity.

*For images that show the paint I paint over it with my brush on the soft skin layer to make it have the waxed look, gaussian blur and adjust opacity as well*
Then I use the eye define layer (Changed the blending mode to see where I brushed) and gaussian blurred to make it blend well.

Flatten and make 2 duplicate layers. Set the blending mode to multiply on the top layer and bring the opacity down to about 50%.

Set the middle layer to screen and keep at 100% opacity.
 Flatten.
Duplicate layer.
Set the blending mode to soft light for the top layer and run a high pass filter set at about 5.

Run a reduce noise filter on the bottom layer.

Before and after shots


Great Work!! Thanks for sharing all the tips. - K
ReplyDeleteFantastic tutorial!Thank you!!!!
ReplyDelete