Tutorial: Glossy lips
Let's say your model comes and doesn't have gloss, so when you photograph her, her lips are flat or matte. Or even say you're outdoors and you don't want your model's hair sticking to her lips, you can fix the "gloss" problem in post. It is so easy, even a caveman can do it :)
I know, bad joke haha.
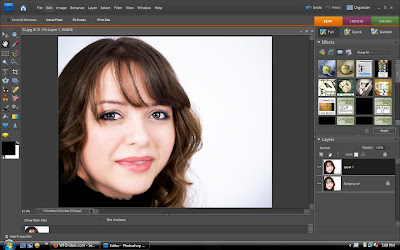
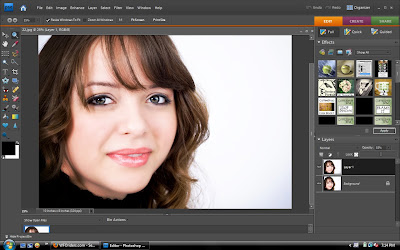
Ok first you start with your edited image that you want to add the glossy lips to. Then duplicate.
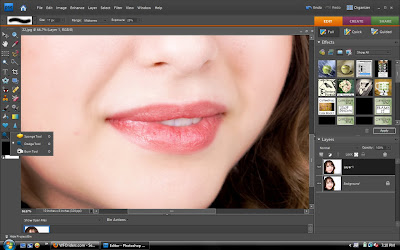
Then you want to get out your dodge tool.Set on highlights. Set your exposure around 20. You can see where the light reflects on her lips, run your brush over it a few times to bring up the highlights.
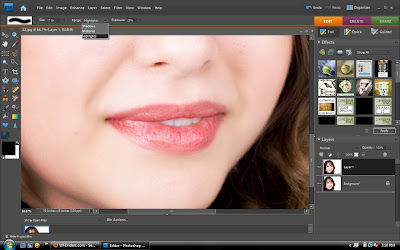
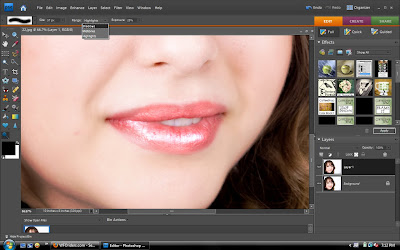
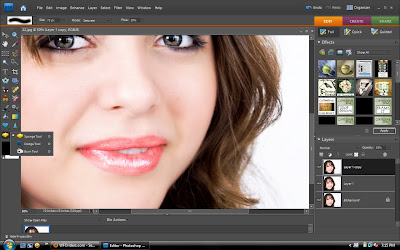
Next you set it to midtones, and keep the exposure low. Then paint over the entire lips.

Then you bring the opacity of the top layer down to where you think it looks right or believable.
There are times also when your model needs a bit more color to her lips, the sponge tool is perfect for that! Duplicate the top layer and set it to saturate and paint over them to get the desired amount of color.
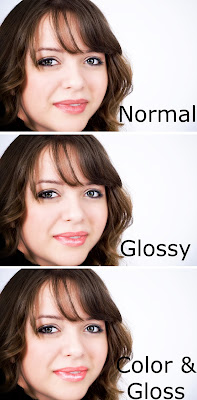
So here is the comparison, from the normal to glossy to added color and gloss.
I know, bad joke haha.
Ok first you start with your edited image that you want to add the glossy lips to. Then duplicate.

Then you want to get out your dodge tool.Set on highlights. Set your exposure around 20. You can see where the light reflects on her lips, run your brush over it a few times to bring up the highlights.


Next you set it to midtones, and keep the exposure low. Then paint over the entire lips.

Then you bring the opacity of the top layer down to where you think it looks right or believable.

There are times also when your model needs a bit more color to her lips, the sponge tool is perfect for that! Duplicate the top layer and set it to saturate and paint over them to get the desired amount of color.

So here is the comparison, from the normal to glossy to added color and gloss.


Thanks for the tips. I haven't used the dodge and burn tools very much. I love your site.
ReplyDeleteYou're welcome :)
ReplyDeleteThey are great for lips and eyes.
Thank you!
Thank you! It helps to know what these tools do.
ReplyDelete...and thank you for keeping the tutorial to a cave-man level - so I can follow!
Looking forward to more.
Rosi M. aka HeidiRose
Love it! Thanks so much for sharing! Looking forward to more tutorials!
ReplyDelete